There are several ways to start up a CMS website using Umbraco open source. Previously, I was using the latest version for Umbraco manually. I used to go to Our Umbraco website and download the latest version, and start building up my website using the WebMatrix and rarely I was able to build up the website using Visual Studio.
For new starters, if you want to be set up quickly, then there is the option to easily install the latest version using the web platform installer or WebMatrix as these tools will automatically download and install any dependencies for you.
However, having experimented both approaches, I would recommend setting everything up manually so that you can benefit from using an integrated development environment (IDE) such as Visual Studio to write your code. A major advantage of writing your code from within in Visual Studio is that it will provide you with intellisense for auto-completion which is something that is not offered from within the Umbraco Back Office.
Before we begin, you will need to ensure that the following programs are installed and correctly configured your computer:
- Visual Studio 2013
- Microsoft SQL Server
- Internet Information Services (IIS 7.5 – configured on your computer)
- NuGet Package Manager (Installed with Visual Studio)
If you want to set up Visual Studio for Umbraco, we can follow the following steps:
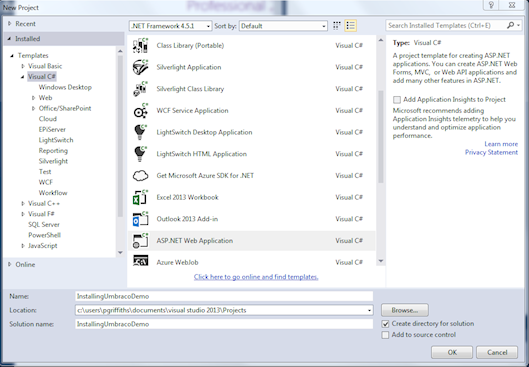
Step1: Open Visual Studio 2013, go to FILE and select the NEW PROJECT option.

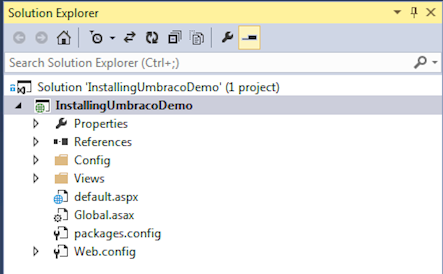
Step2: In the left-hand pane, choose VISUAL C# and then from the main pane select ASP.NET WEB APPLICATION as the project Type. Name your project something suitable, I have called my project InstallingUmbracoDemo.
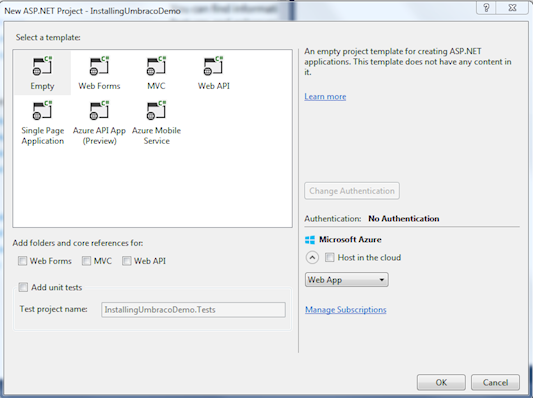
Step3: In the next screen, select to use an EMPTY PROJECT template for your new ASP.NET Project and all options to add folders and core references are left unchecked (Umbraco will create these for you). Select OK and visual studio will create your new project based on the settings that have been defined.
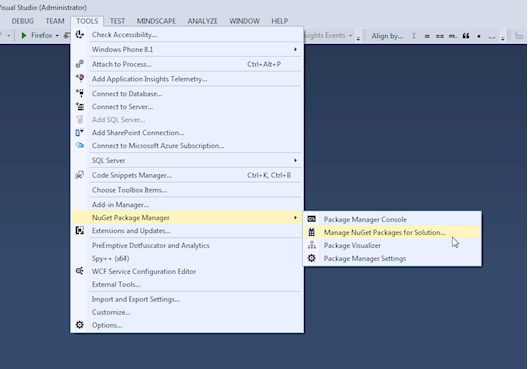
Step4: Next you need to install Umbraco into your empty visual studio ASP.NET project. This is done via NUGET PACKAGE MANAGER and can be completed by navigating to TOOLS > NUGET PACKAGE MANAGER and selecting MANAGE NUGET PACKAGES FOR SOLUTION.
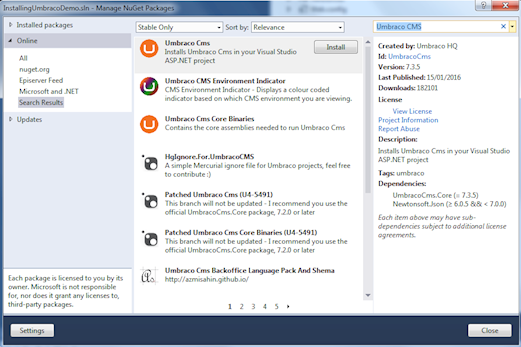
Step5: When the manage NuGet package dialog opens, ensure that the ONLINE option is selected from the left-hand pane and then type ‘Umbraco CMS’ into the search box. From the options in the search results list select to ‘install’ the UMBRACO CMS package
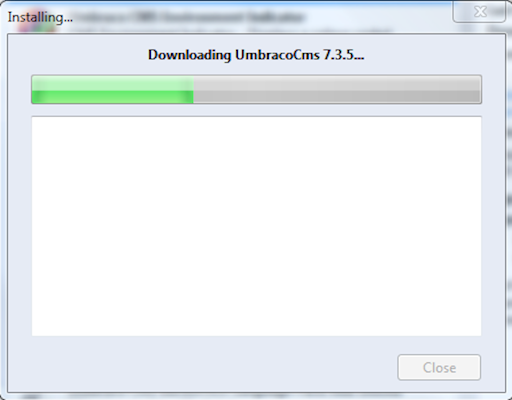
Step6: After you select the ‘install‘ button, the latest version of Umbraco CMS will begin to download.
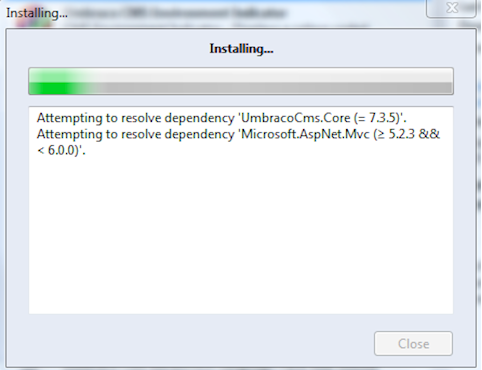
Step7: NuGet will begin to install the package into your new empty ASP.NET project which was created in step 3 (installingUmbracoDemo).
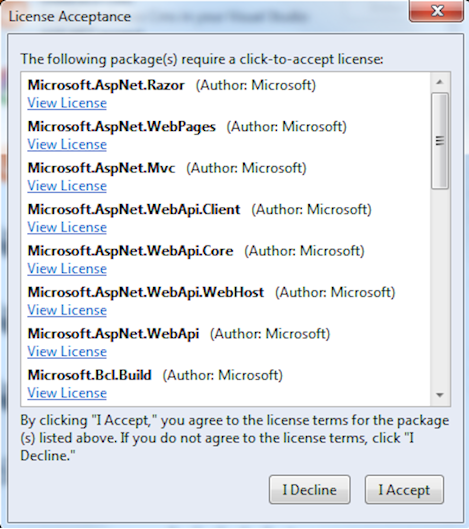
Step8: When prompted, ensure that you accept the license terms for the Umbraco CMS package by selecting ‘I Accept‘
Step9: Once NuGet has completed installing the Umbraco CMS package the last thing you need to do is build the solution in Visual studio. Navigate to BUILD and select BUILD SOLUTION.
At this point, we have the visual studio ready, and we can start running the Umbraco backoffice to build up our CMS. After making the Visual studio ready, we have to create our database.
Step10: Before I run my new project, I will access SQL Server (2008 or above) and create my new database.
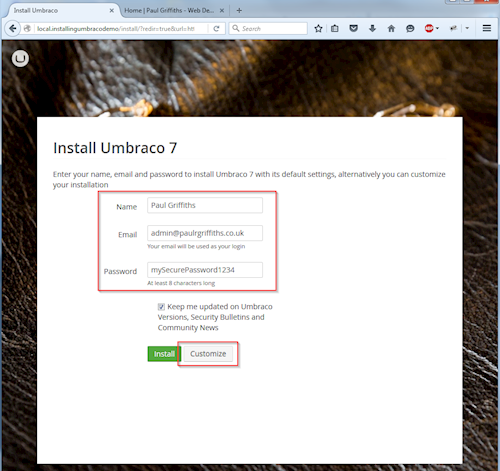
Step11: Open a web browser and browse to your local site (e.g. local.installingUmbracoDemo) and if everything has gone as expected you should be presented with the following Umbraco 7 Install screen. Enter you NAME, EMAIL ADDRESS and PASSWORD then select CUSTOMIZE.
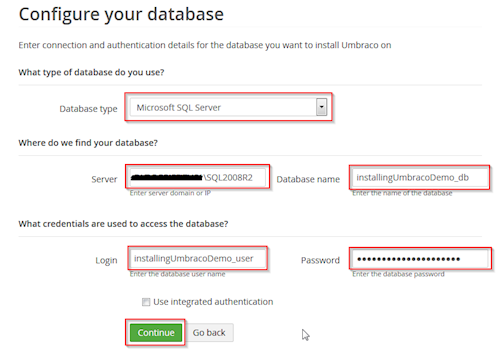
Step12: In the CONFIGURE YOUR DATABASE screen enter the following details
Step13: Once you chose your preference in the Install a starter website step the next step will consist of the Umbraco installer setting up your new database with all the Umbarco specific tables etc. Just sit back and let it do its thing :).
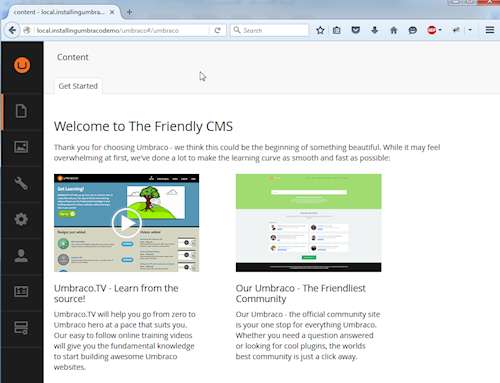
Once the installer has completed setting up your database you should be presented with the Umbraco Back Office of your brand new manual install. It is at this point you are ready to start to begin developing your website.